This blog will help you to configure Netscaler Traffic Policies to route WorxWeb Traffic through Proxy Server in SecureBrowse Mode. We will also help you to configure Traffic Policy such that Activesync Traffic is not routed through the Proxy Server.
Please Note that only basic Proxy Use cases have been covered in this Blog. We have not covered all the real time use cases/Scenarios in this Blog.
Pre-Requisites
- Netscaler Version 10.5 Build 55.8
- You need to have NS with a Valid license
- You need to have Netscaler Gateway configured in NS.
- You need to have the proxy server details along with port before you follow the below steps.
Getting Started
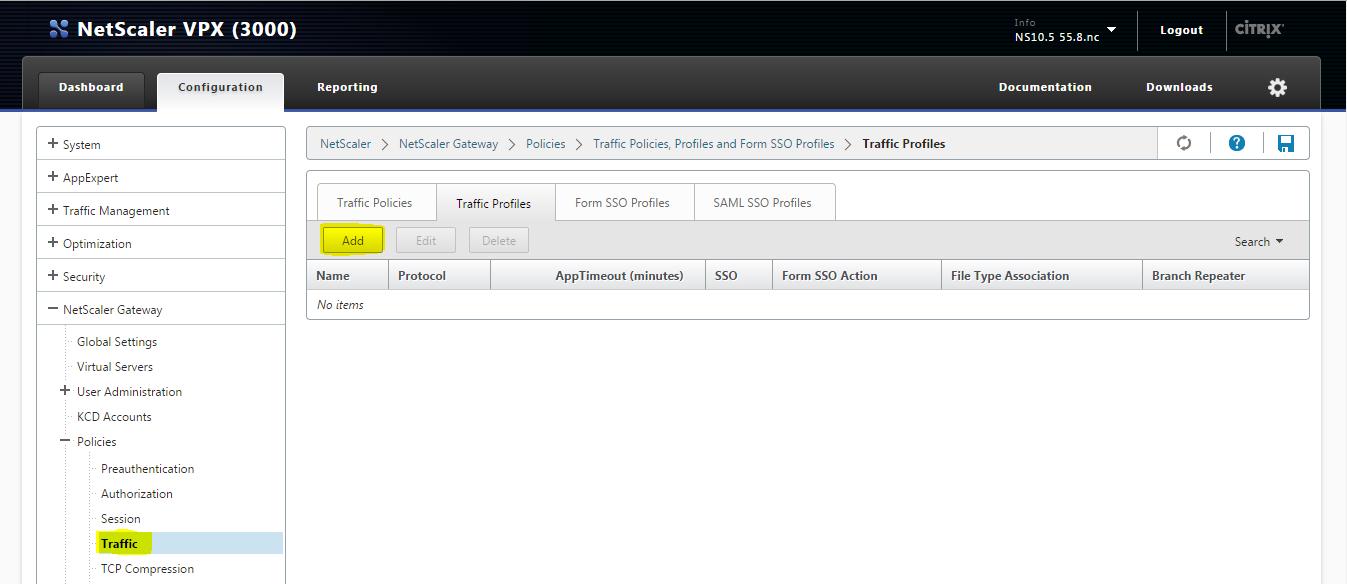
1. Login to Netscaler
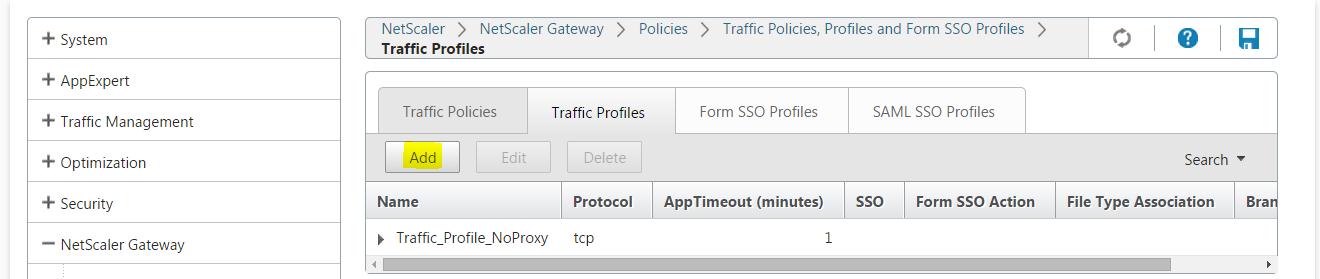
2. Expand NetScaler Gateway -> Policies and Select Traffic on the Left side. On the Right side pane, Select Traffic Profiles and Click on Add.
3. Type Name of the Profile and Select TCP as the Protocol and leave rest of the field as it is.
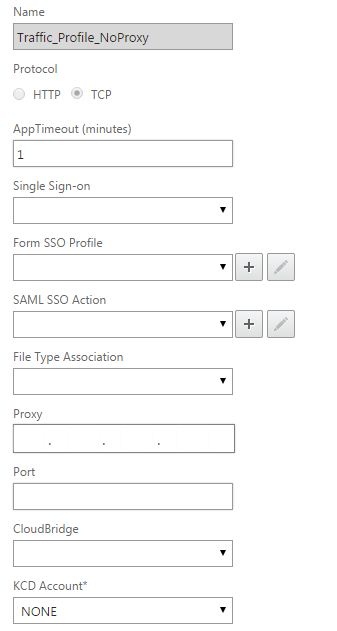
4. Click Create
5. Click Add under Traffic Profiles
6. Enter name of the Traffic Profile and Select the Protocol as Http. This Traffic Profile is both for http and SSL. CVPN traffic is HTTP traffic by design, regardless of the destination port or service type. Thus, both SSL and HTTP traffic are to be specified as HTTP in traffic profile.
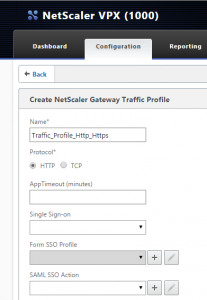
7. Enter the IP address and Port number of the Proxy Server.

8. Click Create.

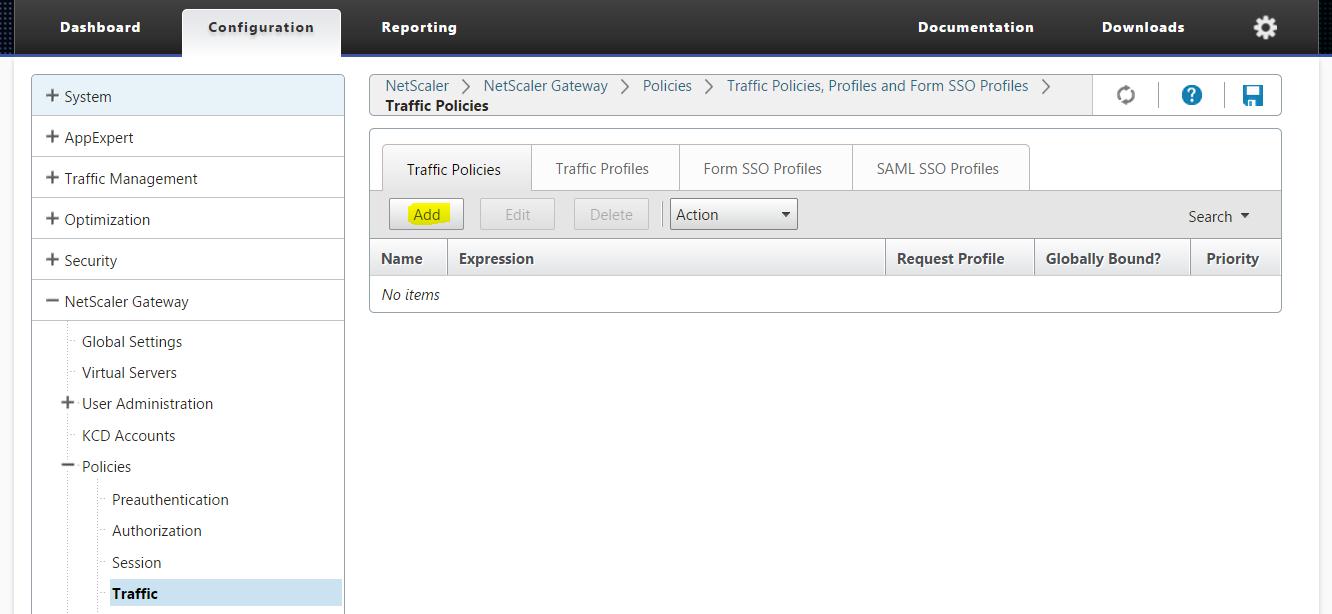
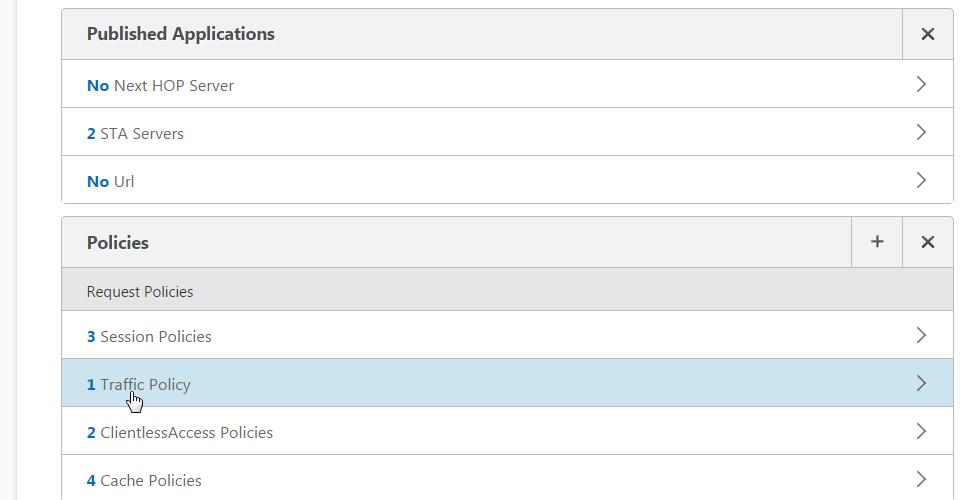
9. Click on Traffic Policies Tab and Click Add.
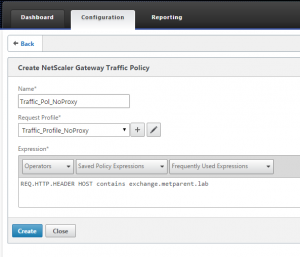
10. Enter the Name of the Traffic Policy and Select the Traffic Profile you created in Step 3 under Request Profile. Under Expression, enter the expression such as
“REQ.HTTP.HEADER HOST contains ActiveSyncServer || REQ.HTTP.HEADER User-Agent CONTAINS WorxMail || REQ.HTTP.HEADER User-Agent CONTAINS com.zenprise || REQ.HTTP.HEADER User-Agent CONTAINS WorxHome || REQ.HTTP.URL CONTAINS AGServices || REQ.HTTP.URL CONTAINS StoreWeb” and Click Create.
Here we are doing Host header based check. Please replace ActiveSyncServer with the appropriate ActiveSync server name from intranet to bypass the Activesync traffic from Proxy.
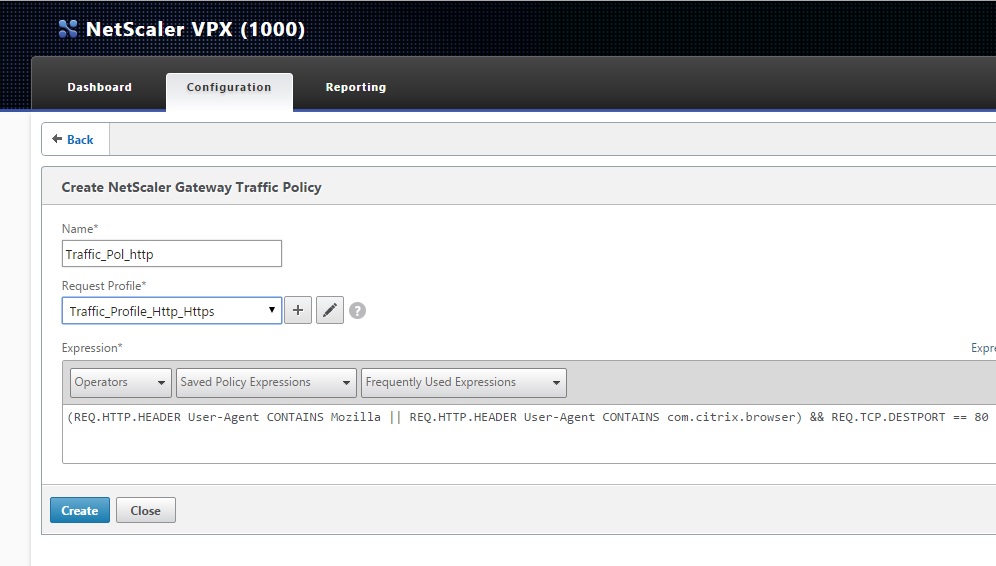
11. Under Traffic Polices, click Add.
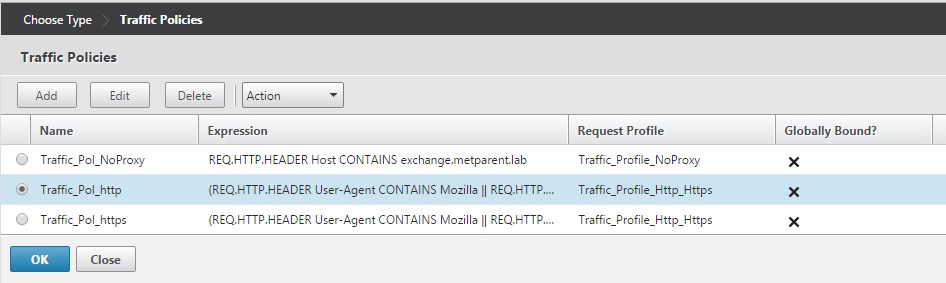
Enter the Name of the Traffic Policy and Select Traffic Profile we created in step 6 under Request Profile.
Enter the Expression
(REQ.HTTP.HEADER User-Agent CONTAINS Mozilla || REQ.HTTP.HEADER User-Agent CONTAINS com.citrix.browser || REQ.HTTP.HEADER User-Agent CONTAINS WorxWeb) && REQ.TCP.DESTPORT == 80
as shown below and Click Create.
12. Click Add under Traffic Policies. Enter the Name of the Traffic Policy and Select Traffic Profile we created in Step 6 under Request Profile.
Enter the expression (REQ.HTTP.HEADER User-Agent CONTAINS Mozilla || REQ.HTTP.HEADER User-Agent CONTAINS com.citrix.browser || REQ.HTTP.HEADER User-Agent CONTAINS WorxWeb) && REQ.TCP.DESTPORT == 443 as shown below and Click Create.

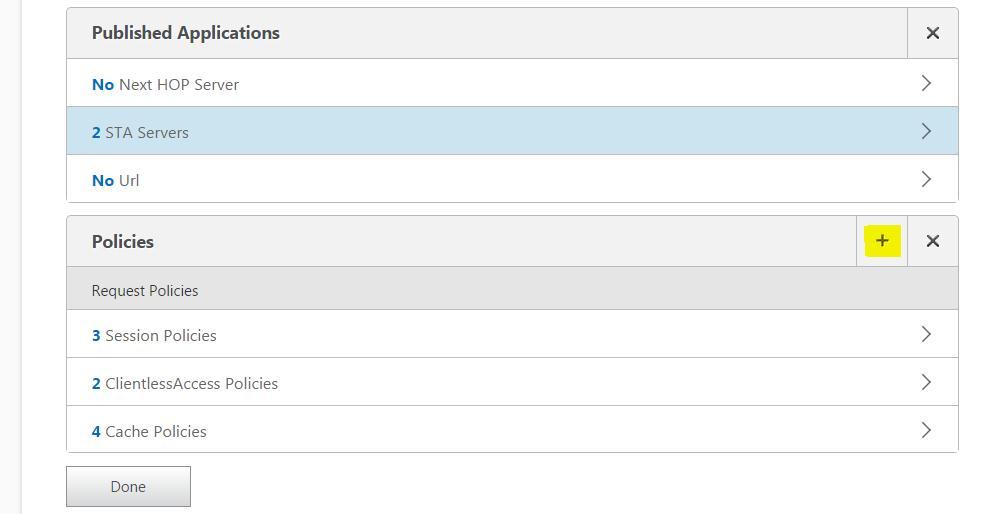
13. Navigate to NetScaler Gateway -> Virtual Servers and Select the Virtual Server on the Right side and Click Edit.

14. Click on “+” sign for Policies.
15. Select Traffic from the Dropdown.

16. Click Continue

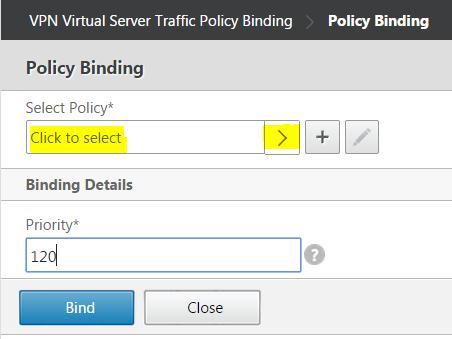
17. Click on “>” Symbol.
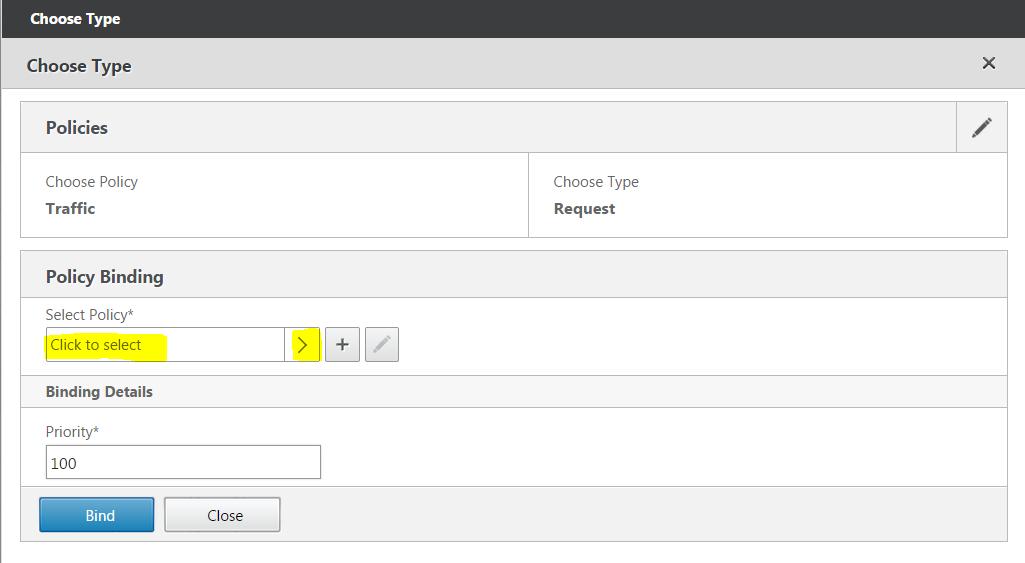
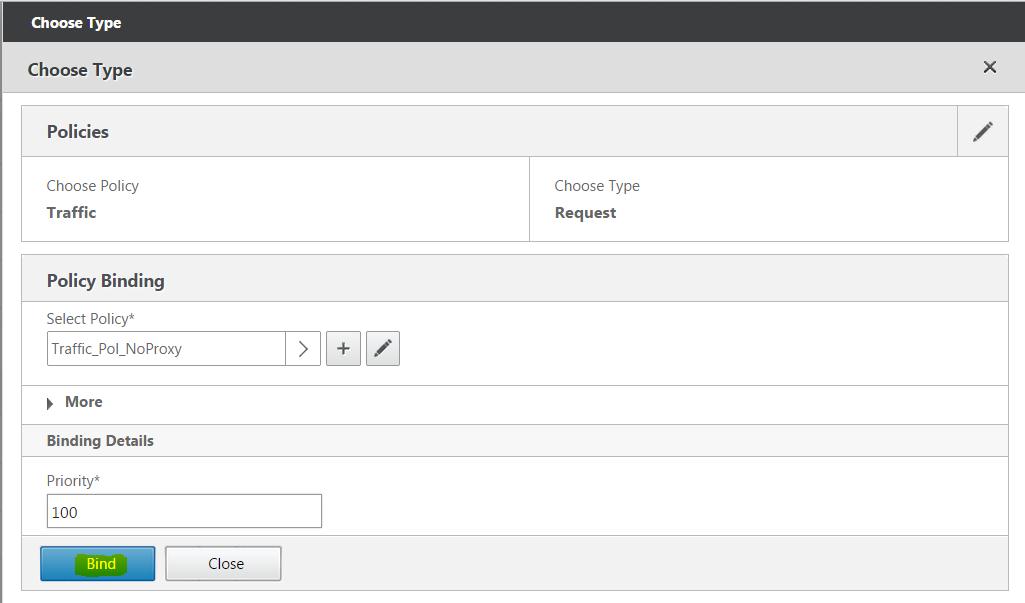
18. Select the Policy you created in Step 10 as shown below and Click OK.

19. Click on Bind.
20. Click on Traffic Policy
21. Click on Add Binding.

22. Click on “>” Symbol to select the policy.

23. Select Policy you created in Step 17 and Click OK.
24. Click on Bind.

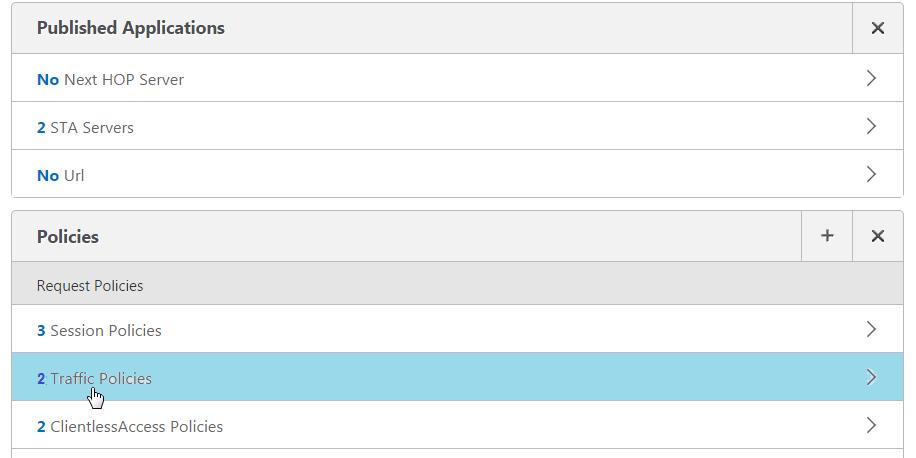
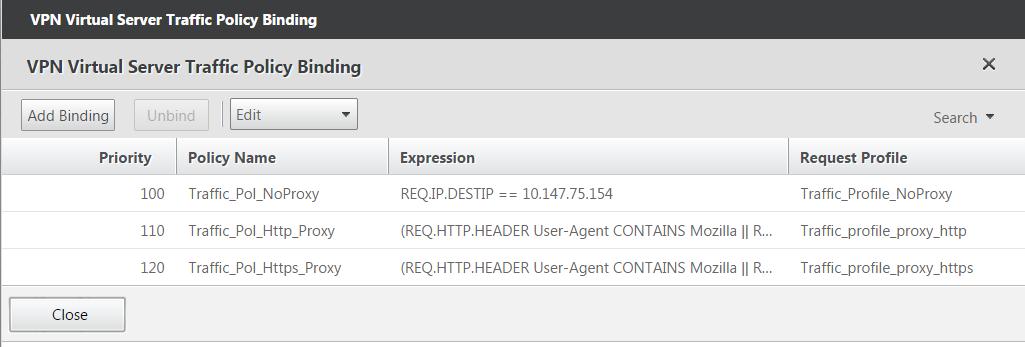
25. Click Traffic Policies
26. Click on Add Binding.

27. Click on “>” symbol.
28. Select the Policy you created in step 18 and Click OK.

29. Click on Bind.

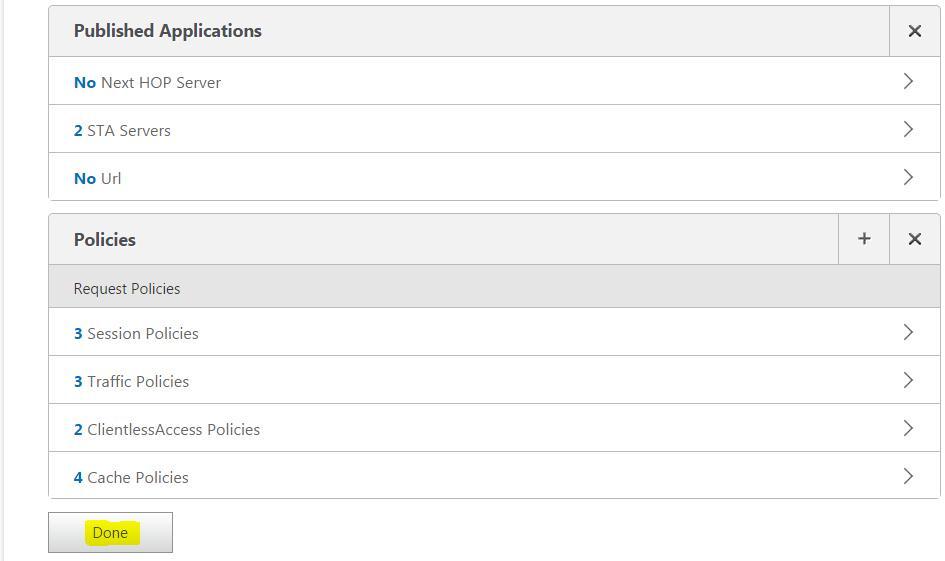
30. Click Close.
31. Click on Done.
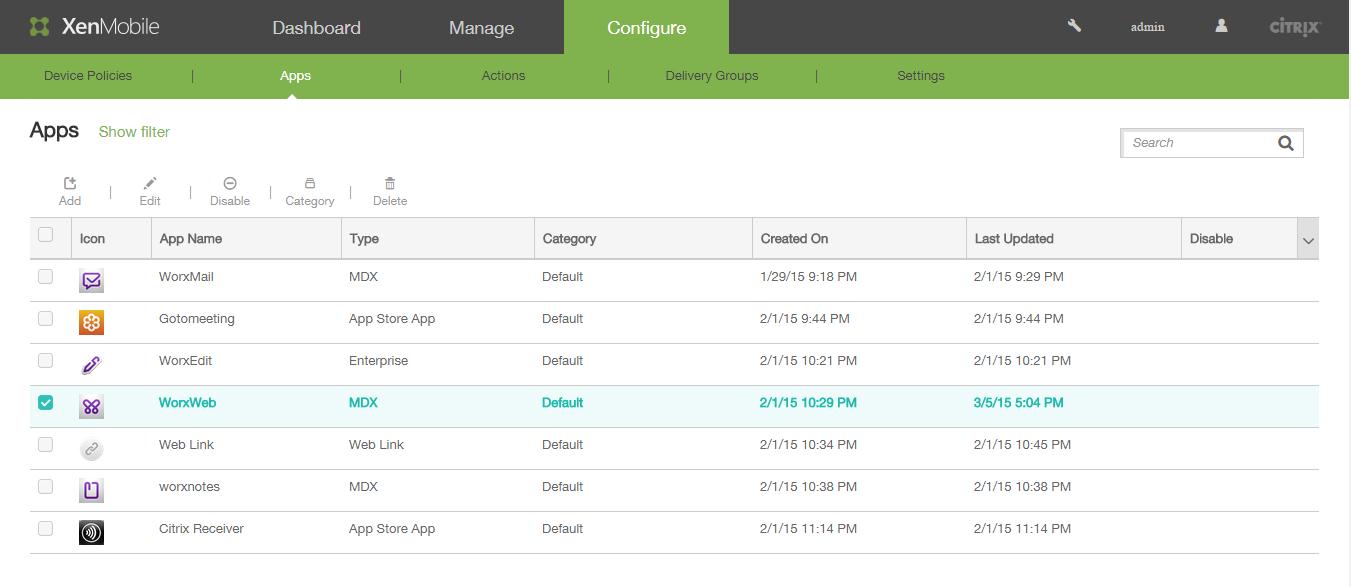
32. Logon to the XMS Server.

33. Click on Apps under Configure Tab.
Select the WorxWeb MDX Application as shown below.
34. Click on Edit

35. Click Next

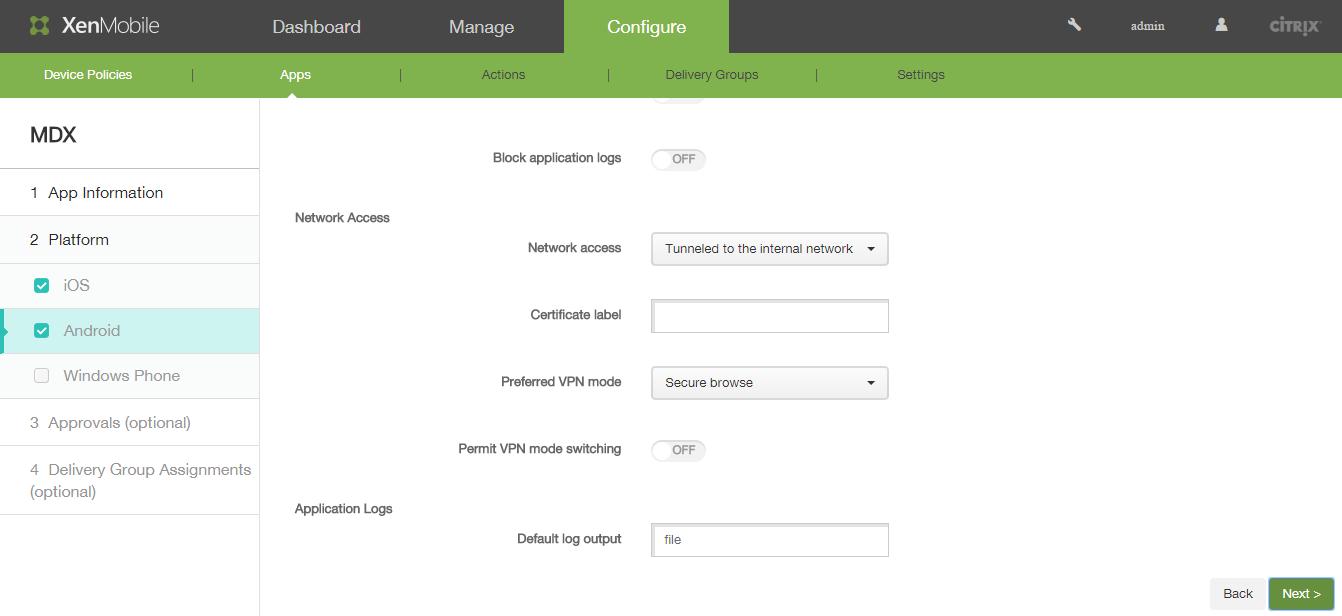
36. Scroll Down until you get the Network Access section
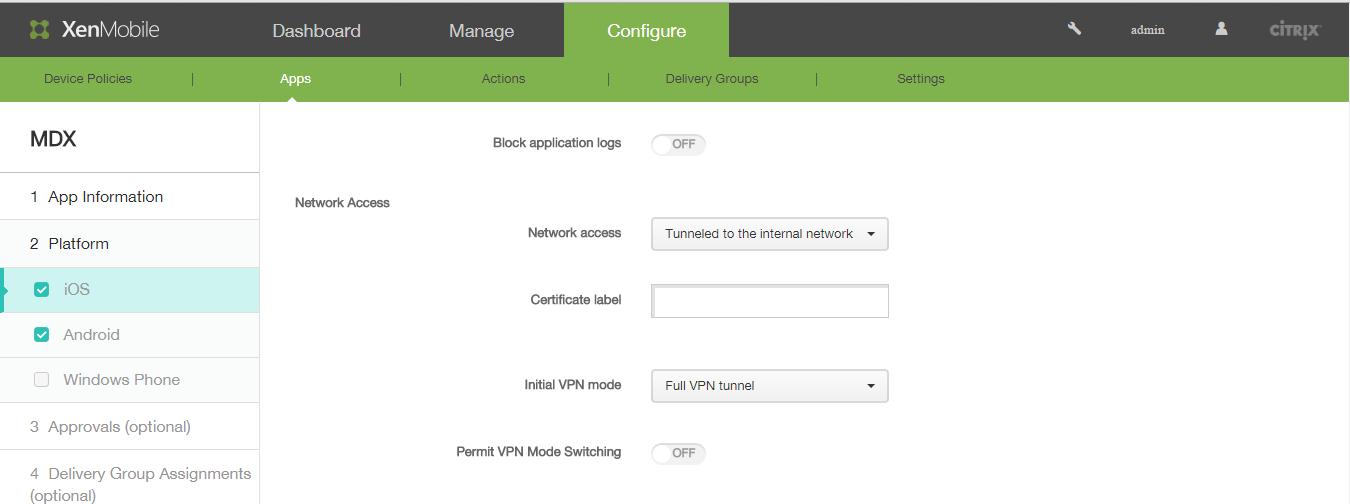
37. Select Secure Browse for the Initial VPN Mode and Click Next.

38. Set the Preferred VPN Mode to Secure Browse for the Android and click Next.
39. Click Next

40. Select the Delivery Group which you have created in your environment and Click Save.