In this Blog, We will go through the steps required to create and Import the APNS (Apple Push Notification Service) Certificate into XMS Server.
Pre-Requisites
• Login credentials to Apple Push Certificates Portal https://identity.apple.com/pushcert
• Netscaler and XMS Login Details
Creating Certificate Request on Netscaler.
Overview
The purpose of this document is to provide detailed information on creating and downloading a Certificate Request on Netscaler.
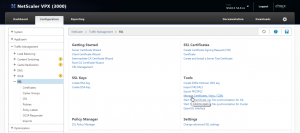
1. Login to the Netscaler and Select SSL under Traffic Management on the Left side. Click on Create RSA Key on the right side as shown below.
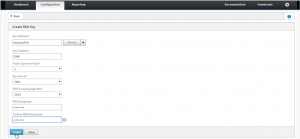
2. Enter the Key File name and Key Size as 2048 bits, the PEM Passphrase with other details as shown below and Click on Create. Make sure you remember this passphrase as we are going to use it while creating .pfx file for the APNS certificate.
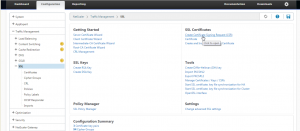
3. Under Traffic Management -> SSL and Click on Create Certificate Request on the Right Side as shown below.
4. Enter the Request File Name and for Key File Name, click on Browse.
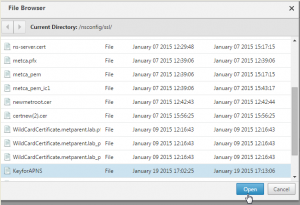
5. Select the Key File we created in Step 2 above.
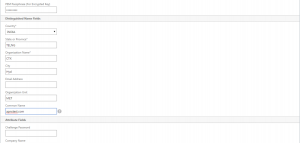
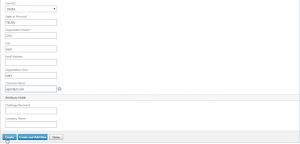
6. Enter the Details required for the CSR as shown below. Here common name is the name for which you will be obtaining the APNS certificate for.
7. Click on Create to create the CSR file.
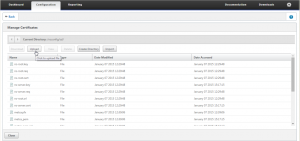
8. Under Traffic Management-> SSL, Click on Manage Certificates/Keys/CSRs under Tools as shown below.
9. Select the CSR you created and click on Download to save it in a local folder on your computer.
To submit the CSR to Citrix for signing
1. Login to the XMS Server and Click on the Support Icon as shown below.
2. Click on APNs Signing Utility.
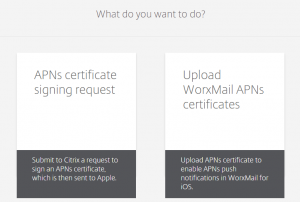
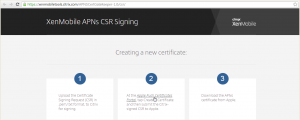
3. You will be redirected to https://xenmobiletools.citrix.com. Click on APNS Certificate Signing Request.
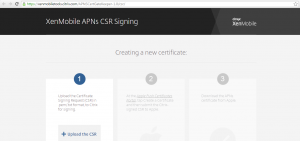
Click on Upload the CSR.
4. Browse for the CSR file we downloaded in Step 9 of the creating CSR section above.
5. Click on Sign.
6. You will see a message saying successfully signed.
7. A file (with .plist extension) gets downloaded automatically as shown below.
To submit the signed CSR to Apple to obtain the APNS certificate
1. Click on Apple Push Certificates Portal link as shown below.
2. Sign in to the Portal.
3. Click on Create Certificate.
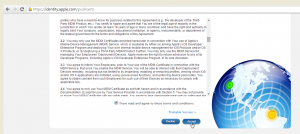
4. Accept the Terms of Use.
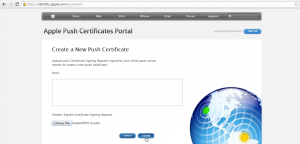
5. Click on Choose File.
6. Select the .plist file we downloaded in step 7 of the Submit the CSR to Citrix for Signing section above.
7. Click on Upload.
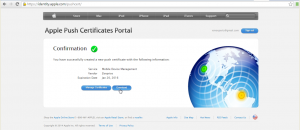
8. Download the APNS Certificate which is in .PEM format.
9. Login to Netscaler.
Under Traffic Management -> SSL and Click on Manage Certificates/Keys/CSRs on the Right Side.
10. Click on Upload
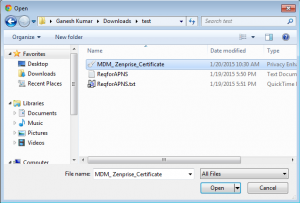
11. Select the APNS Certificate PEM file we downloaded in step 8 and click on Open.
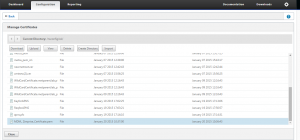
12. Click on Close.
To create a .pfx APNS certificate by using OpenSSL
1. Login to the Netscaler Command Line as user nsroot and type shell to get into the shell.
2. Enter the command as shown below.
Here is the format:
openssl pkcs12 –export –out /nsconfig/ssl/<APNS file name with .pfx extension> -inkey /nsconfig/ssl/<APNS Key File> -in /nsconfig/ssl/<APNS PEM Certificate uploaded earlier>
Here the Private key and the PEM files are located in /nsconfig/ssl directory. The output file with the .pfx extension will also be located in the same directory.
3. Enter the Passphrase for the Private Key we created for APNS in the creating Certificate Request on Netscaler section.
4. Enter the PFX export password.
5. Re-enter the Export Password. Make sure you remember this password as we are going to use this in our next section while importing the APNS certificate into XMS Server.
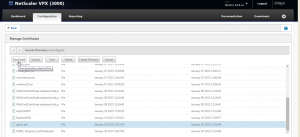
6. Under Traffic Management -> SSL and Click on Manage Certificates/Keys/CSRs on the Right Side.
7. Select the PFX file and click Download
Importing the APNS certificate into XMS Server.
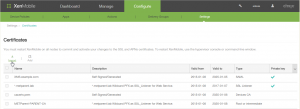
1. Login to the XMS Server and Click on Settings under Configure.
2. Click on Certificates
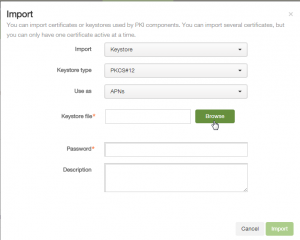
3. Click on Import
4. Select the APNs for the Use as Field, Select KeyStore for Import Field and Keystore Type as PKCS#12
5. Click on Browse to browse for the APNS pfx file we downloaded in Step 7 of the create .pfx APNS certificate section.
6. Select the file
7. Enter the PFX password
8. Click on Import
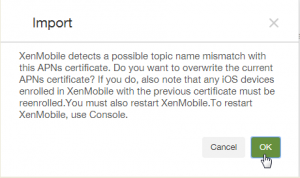
9. Click OK
10. We can see the APNS certificate which is imported as shown below.


